
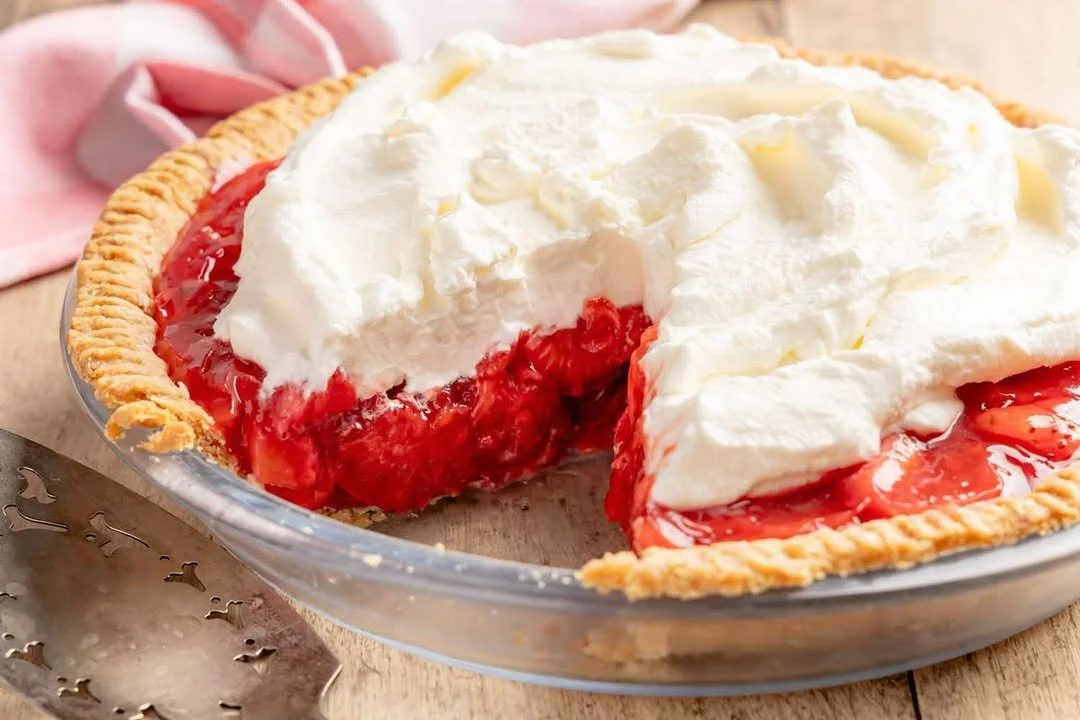
No-Bake Fresh Strawberry Pie
When the sun begins to shine and the days warm up, a no-bake fresh strawberry pie becomes a delightful escape from the heat of the kitchen. This pie not only satisfies your sweet tooth but also offers a refreshing taste of summer. It’s perfect for potlucks, family gatherings, or just a quiet evening at home. What makes this dessert especially appealing is that it doesn’t require any baking, making it a stress-free option for busy parents or anyone looking to whip up something special without extensive fuss.
In this article, you’ll learn how to make a delicious no-bake fresh strawberry pie. We will cover everything from the ingredients you’ll need to some helpful tips and tricks to ensure your pie turns out perfectly every time. You’ll also discover common pitfalls to avoid, ensuring that your culinary adventure is a successful one.
:max_bytes(150000):strip_icc():format(webp)/Simply-Recipes-Fresh-Strawberry-Pie-LEAD-9-a5e8bfa1c64d4c4abd1bb36b366ed037.jpg)
Why This Happens
Before diving into the recipe, let’s discuss why this particular pie works so well. Strawberries are naturally sweet and juicy, making them the star of the show. When combined with a creamy filling, they create a perfectly balanced dessert that’s light and satisfying. The cool, refreshing nature of this pie also makes it ideal for warm-weather gatherings or a quick treat after a long day. Plus, the absence of baking means you can prepare it quickly, saving you time and energy.
Ingredients You’ll Need
For the perfect no-bake fresh strawberry pie, you’ll need the following ingredients:
- For the Crust:
- 1 ¾ cups graham cracker crumbs (about 12 full sheets)
- ½ cup unsalted butter, melted
- ¼ cup granulated sugar
- For the Filling:
- 2 cups fresh strawberries, hulled and sliced
- 1 cup heavy whipping cream (or cool whip)
- 8 ounces cream cheese, softened
- ½ cup powdered sugar
- 1 teaspoon vanilla extract
- ½ cup strawberry preserves or jam
- For Garnish (Optional):
- Additional fresh strawberries
- Mint leaves
Step-by-Step Instructions
1. Prepare the Crust
The crust is the foundation of your pie, offering a crunchy texture that complements the creamy filling.
- In a bowl, combine graham cracker crumbs, melted butter, and sugar. Mix until the crumbs are fully coated and resemble wet sand.
- Press the mixture firmly into the bottom and sides of a 9-inch pie dish. Use the back of a measuring cup or your fingers to ensure an even layer.
- Place the crust in the refrigerator for about 30 minutes to set.
2. Make the Filling
Now for the creamy filling that ties everything together.
- In a mixing bowl, beat the softened cream cheese until smooth. This will ensure that there are no lumps in your filling.
- Gradually add powdered sugar and vanilla extract while continuing to mix until fully incorporated.
- In a separate bowl, whip the heavy cream until soft peaks form. If you’re using cool whip, you can skip this step.
- Gently fold the whipped cream into the cream cheese mixture until fully combined. This step is crucial—it gives your pie a light and airy texture.
3. Combine Stawberries with Filling
Now let’s incorporate the strawberries for that delightful fruity flavor.
- Gently fold in the sliced fresh strawberries. Be careful not to crush them; you want to maintain some of their shape and integrity for presentation.
:max_bytes(150000):strip_icc():format(webp)/Simply-Recipes-Fresh-Strawberry-Pie-METHOD-1-fdb18111c4374c5ca06de3efed702722.jpg)
4. Assemble the Pie
Now, it’s time to bring your pie together.
- Remove the crust from the refrigerator. Spoon the strawberry mixture into the crust, spreading it evenly.
- Top the filling with strawberry preserves, spreading it gently over the strawberries. This adds a lovely gloss and extra sweetness.
5. Chill the Pie
This is a critical step that cannot be overlooked.
- Cover the pie with plastic wrap or a lid and place it in the refrigerator. Let it chill for at least 4 hours or overnight if you have the time. This allows the flavors to meld and the filling to set properly.
Helpful Tips
:max_bytes(150000):strip_icc():format(webp)/Simply-Recipes-Fresh-Strawberry-Pie-LEAD-1-a536703a763942dcbd210a79dcee6513.jpg)
- Use Fresh Strawberries: The fresher your strawberries, the better your pie will taste. Look for bright red strawberries without any mushy spots.
- Chill Your Tools: For an even fluffier whipped cream, try chilling the mixing bowl and beaters before whipping.
- Customize your Sweetness: If you prefer a sweeter pie, feel free to adjust the amount of powdered sugar used in the filling.
Mistakes to Avoid
- Not Setting the Crust: If you skip chilling the crust, it may crumble when you slice the pie, making it difficult to serve.
- Overmixing the Filling: Be gentle when folding in the whipped cream. Overmixing can deflate it and lead to a denser pie.
- Using Overripe Strawberries: Overripe strawberries may result in a mushy texture and affect the pie’s overall integrity.
Prevention Tips
- Store Properly: Keep the pie in the refrigerator covered securely to prevent it from absorbing odors and flavors from other foods. Enjoy it within two days for the freshest taste.
- Make It Ahead: This pie is an excellent make-ahead dessert. Prepare it the night before a gathering so you can spend quality time with your guests instead of being stuck in the kitchen.
Final Thoughts
Making a no-bake fresh strawberry pie is a straightforward yet rewarding experience—perfect for any occasion. With its light and creamy filling combined with fresh strawberries, it’s bound to become a favorite dessert among family and friends. This delectable treat not only showcases summer’s sweetest berries but also allows you to enjoy the flavors without heating up your kitchen.
So, gather your ingredients, follow the steps, and delight in the smiles that come with this exquisite dessert. You’ll be amazed at how something so simple can turn into something so special. Enjoy!
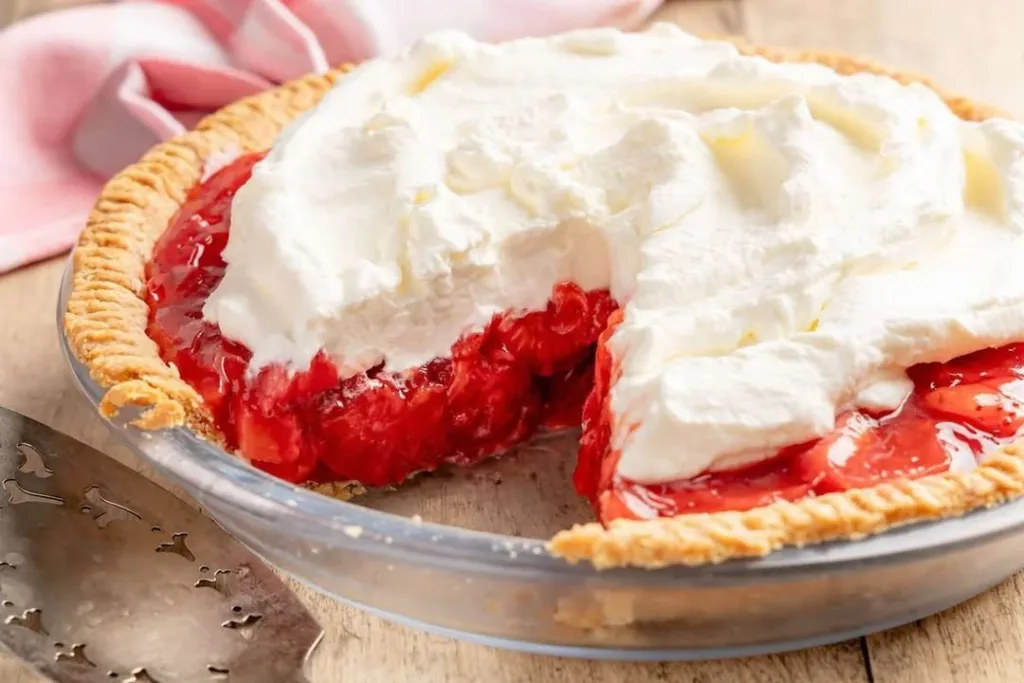
No-Bake Fresh Strawberry Pie
Ingredients
Method
- Combine graham cracker crumbs, melted butter, and sugar in a bowl, mixing until fully coated and resembling wet sand.
- Press the mixture into the bottom and sides of a 9-inch pie dish, ensuring an even layer.
- Chill the crust in the refrigerator for about 30 minutes to set.
- Beat the softened cream cheese in a mixing bowl until smooth.
- Gradually add powdered sugar and vanilla extract, mixing until fully incorporated.
- In a separate bowl, whip the heavy cream until soft peaks form.
- Gently fold the whipped cream into the cream cheese mixture until fully combined.
- Gently fold in the sliced fresh strawberries, taking care not to crush them.
- Remove the crust from the refrigerator and spoon the strawberry mixture into the crust, spreading it evenly.
- Top with strawberry preserves, spreading gently over the strawberries.
- Cover the pie with plastic wrap and refrigerate for at least 4 hours or overnight to let the flavors meld.