
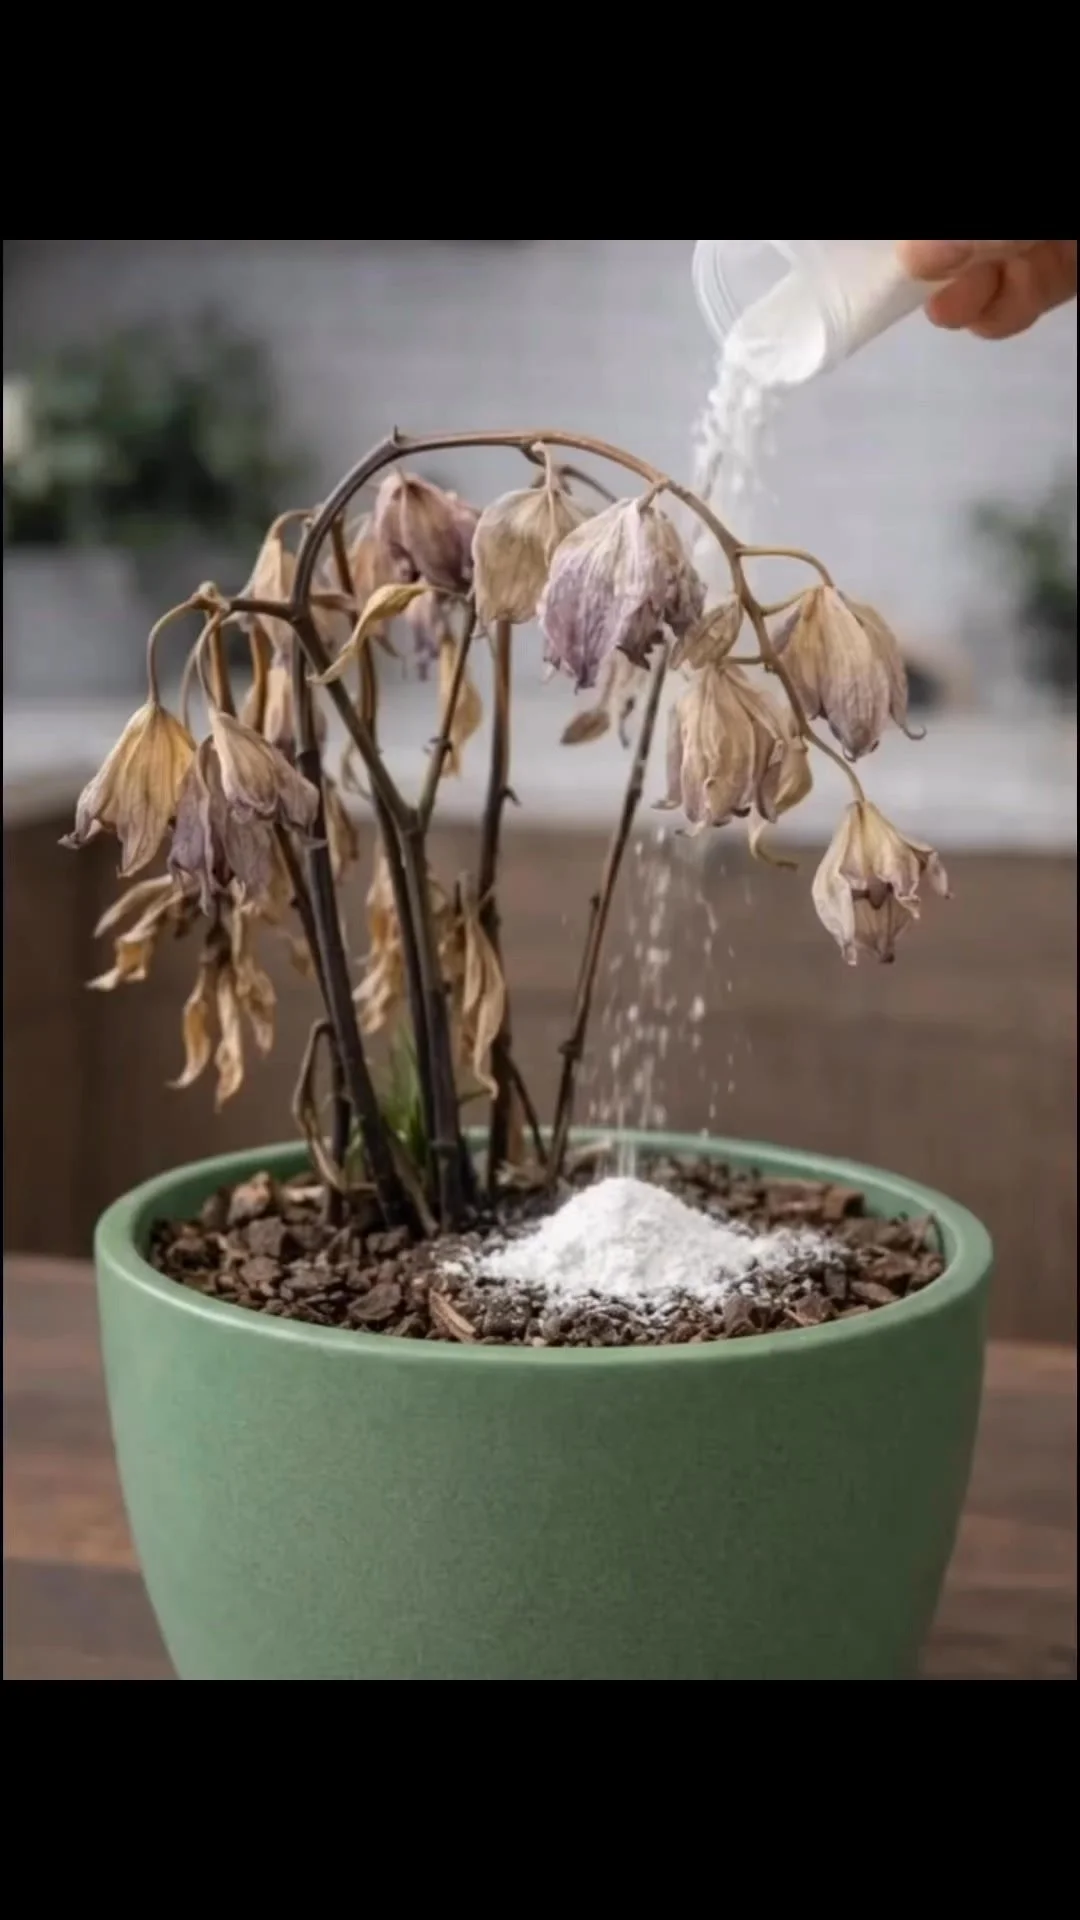
Is Your Orchid Really Dying? 5 Root Details to Check Before Using White Powder
Orchids are often seen as the divas of the plant world. Their delicate blooms can mesmerize anyone, but when things go wrong, they can quickly go from beauty to tragedy. If you’re worried that your orchid might be on its last legs, take a deep breath! Before you resort to the infamous "white powder" method that promises resurrection, let’s dive into the heart of the matter—your orchid’s roots.
Understanding the Orchid Dilemma
Orchids can be finicky, and many plant parents find themselves second-guessing their care routine. Whether it’s overwatering, insufficient light, or pests, there are numerous reasons why your orchid isn’t thriving. But here’s the kicker: many problems stem from the roots. If you’ve ever felt the sinking feeling of losing a beloved orchid, you’re not alone. Learning how to diagnose root health not only saves your plant, but also enhances your gardening skills.
The Roots of the Issue
The roots are the lifeblood of your orchid, and they often tell the most telling story about its health. Unfortunately, root issues are commonly overlooked until it’s too late. Before you reach for the white powder (which can be a quick fix but doesn’t address the underlying issue), let’s explore five key details to check.
5 Root Details to Check Before Using White Powder
1. Color Check: Is it Healthy?
Healthy orchid roots are typically bright green, indicating that they are full of moisture and vitality. If you see brown, mushy, or black roots, this can be a severe sign of rot caused by over-watering or poor drainage. If you identify unhealthy roots, the first step is to gently trim away the affected parts with sterile scissors to prevent further damage.
2. Firmness Test: Are They Spongy?
When you touch the roots, they should feel firm and resilient. Spongy or lifeless roots indicate that they are rotting or have suffered from a lack of nutrients. A gentle squeeze can tell you a lot about their condition—if they’re mushy, it’s time for some urgent intervention.
3. Visibility Check: Are They Accessible?
Take a close look to see how many roots are visible and healthy. If your orchid is in a pot with little to no drainage, it might be suffocating. It’s crucial to ensure they have space to breathe! Consider re-potting in an orchid-specific pot that allows for drainage and air circulation.
4. Mold Assessment: Any Signs?
Sometimes, mold can grow on decaying roots, which can lead to bacterial infections. Check for any fuzzy white growths around the base of the plant. If you spot any signs of mold, it’s critical to take action immediately by removing affected roots and changing the potting medium if necessary.
5. Watering Habits: Are You Over-Watering?
One of the most common mistakes made with orchids is overwatering. To determine your orchid’s watering needs, let the top inch of the potting medium dry out before adding more water. Consider using a moisture meter to gauge when your plant truly needs hydration.
The Secret Method: When to Use White Powder
If you’ve thoroughly checked your orchid’s roots and addressed any damage, you might still wonder about the infamous white powder method. This is often used as a last-ditch effort for revitalizing orchids that are on the brink. This powder, typically fungicide or rooting hormone, can help with root recovery.
- What it is: White powder is a rooting hormone that encourages root development.
- Why it works: It stimulates growth and can help in cases of severe rot if applied correctly.
- How to use it: After trimming damaged roots, dip the ends in the powder before re-potting. This can provide the necessary boost.
Expected Results
With diligence and the right approach, you can expect your orchid to bounce back from its near-death experience. Healthy roots not only support better hydration but also lead to beautiful, fresh blooms. Following these steps will enhance your orchid care routine significantly.
Extra Helpful Tips for Orchid Care
- Light needs: Make sure your orchid is getting the right amount of light—bright, indirect sunlight is typically ideal.
- Fertilization: Use a balanced orchid fertilizer monthly during the growing season to provide essential nutrients.
- Pest control: Regularly check your leaves and roots for pests such as aphids or mealybugs, which could weaken your plant.
Conclusion
Before you panic and reach for the white powder, remember that a thorough understanding of your orchid’s roots can empower you to turn around a struggling plant. It’s about nurturing those roots to create a thriving, blooming beauty. Don’t lose hope; with careful attention and these simple checks, you can breathe new life into your orchid!
So take that first step—check those roots, trim what’s necessary, and nurture your orchid back to health. Your plant deserves the best care, and you have the tools to provide it! Happy gardening!