
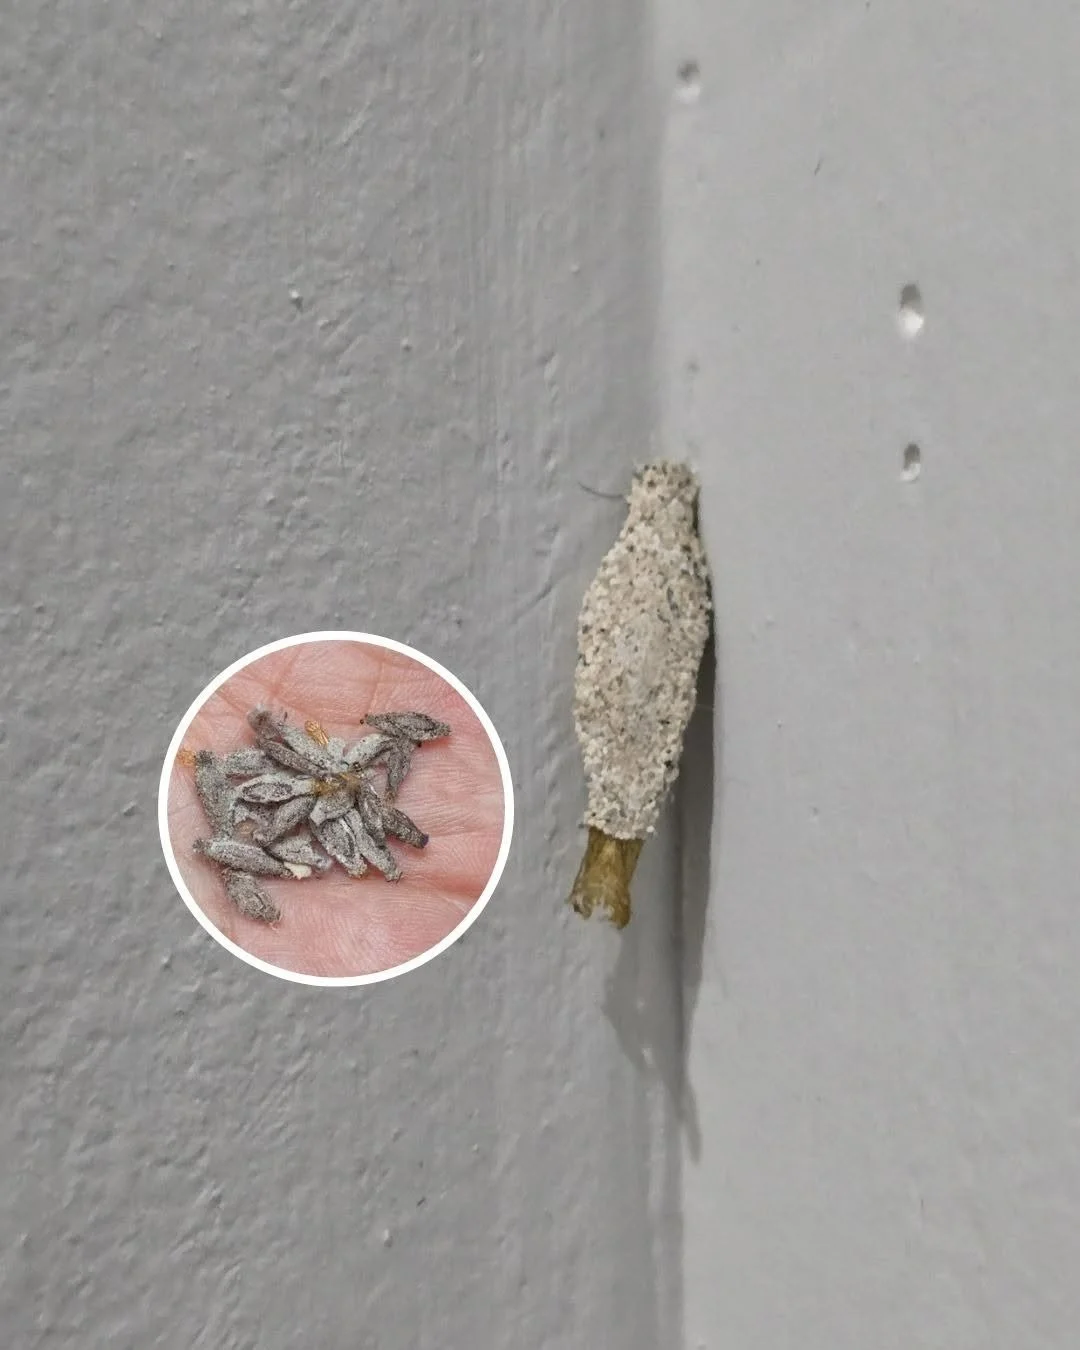
Regularly Inspect Your Home Walls for Insects: Your Guide to a Pest-Free Living Space
Picture this: you walk into your home after a long day, only to find strange, pesky insects crawling along your walls. It’s a sight no homeowner wants to see! Not only can these uninvited guests be unsettling, but they can also lead to serious damage if left unchecked. The desire to keep your sanctuary safe, comfortable, and pest-free is something we all share. But how can you ensure that your walls are free from invasive insects?
In this article, we’ll explore the importance of regularly inspecting your home walls and provide you with practical steps to identify and deal with pests effectively.
Why This Works
Inspecting your walls regularly is crucial for several reasons. First, early detection can prevent widespread infestations that may lead to costly repairs. Secondly, many household insects, like termites, can cause significant structural damage before you even notice their presence. By being proactive, you not only safeguard your home but also protect your peace of mind.
Main Content
Here’s a comprehensive guide on how to inspect your home walls for insects, what signs to look for, and how to eliminate any potential infestations.
Signs of Insect Infestation
-
Visible Insects: The most obvious sign. Look for any crawling or flying insects, especially around windows, doors, and baseboards.
-
Droppings and Frass: Insect droppings can vary in size and color. For instance, termite droppings, known as frass, look like tiny pellets. If you see small dark spots or powdery substance, it may indicate insects are nearby.
-
Hollow Sound: Knock on the walls; if you hear a hollow sound, that could mean that insects are burrowing inside.
-
Mud Tubes: If you notice mud tubes on the exterior of your home or along basement walls, these are signs of termite activity.
-
Webs: Spider webs are an indicator of other insect problems, as spiders typically thrive where there is an abundance of other insects.
Step-by-Step Guide to Inspecting Your Walls
Step 1: Prepare Your Inspection
- Gather your tools: flashlight, vacuum, tape, and a magnifying glass.
- Choose a time when you can inspect thoughtfully, ideally early morning or late evening when most insects are active.
Step 2: Check Common Areas
- Start from the foundation and work your way up. Pay attention to corners, crevices, and areas where wires and pipes enter your home.
Step 3: Look for Entry Points
- Identify places where insects could gain access, like cracks in the foundation, gaps in window screens, or spaces around doors.
Step 4: Examine Your Walls
- Use your flashlight and magnifying glass to carefully inspect the surface of your walls. Look for signs of discoloration, frass, or mud tubes.
Step 5: Document Your Findings
- Write down any signs of infestations or potential entry points. This will help you strategize the best course of action for elimination.
Expected Results
By regularly inspecting your home walls for insects, you may discover problems before they escalate into full-blown infestations. Early intervention can lead to more manageable issues, saving you time, money, and stress in the long run.
Extra Tips
- Seal Up Cracks: Once you’ve inspected and noted any potential issues, be sure to seal up openings with caulk or weather stripping to prevent future invasions.
- Maintain Cleanliness: Keep your home clean and free of food debris, as this will discourage insects from taking up residence.
- Routine Inspections: Schedule regular inspections every few months to ensure that you’re staying ahead of any potential problems.
Conclusion
Regularly inspecting your home walls for insects isn’t just a task to check off a list; it’s an essential measure in maintaining a safe and welcoming living space. Armed with the right knowledge, tools, and a proactive mindset, you can protect your home from unwanted pest invasions. Embrace the journey towards a pest-free environment and enjoy the peace of mind that comes with it!